
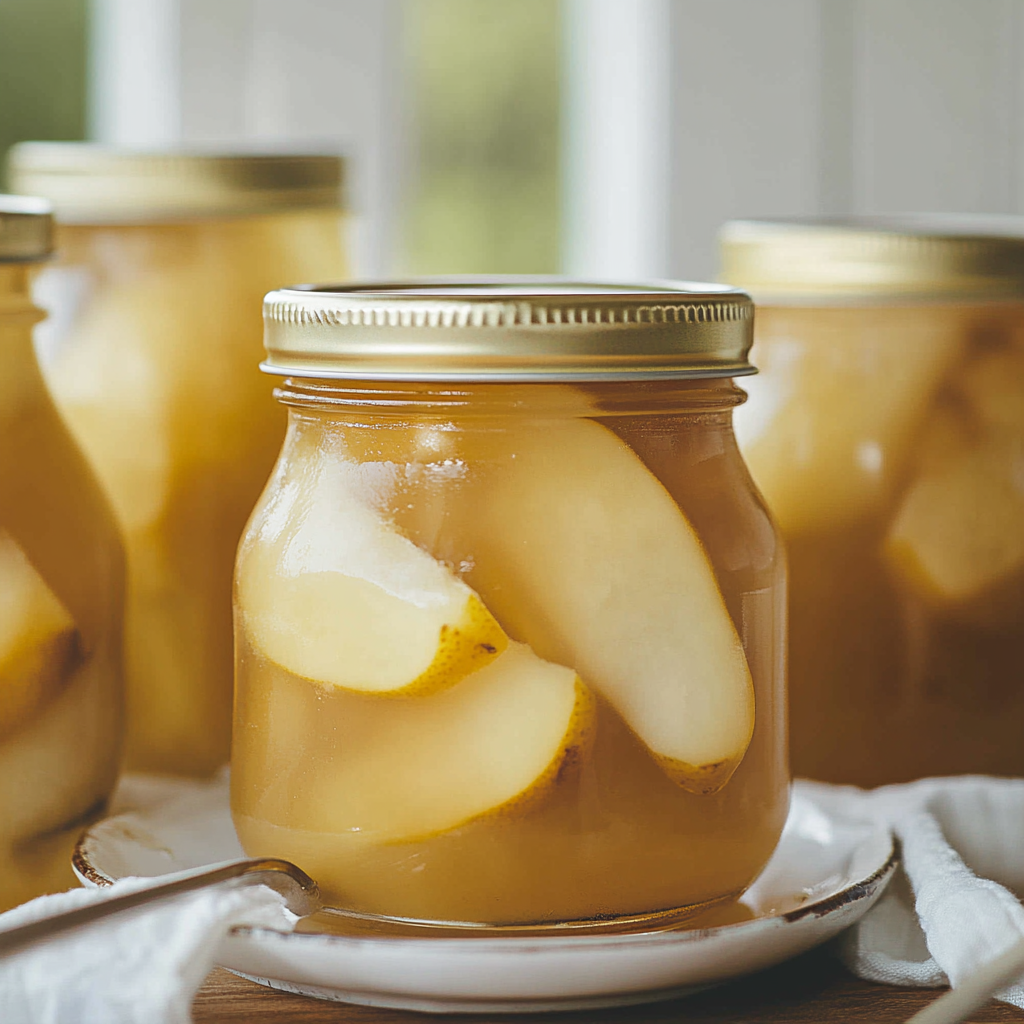
There’s something truly magical about canning pears. Imagine the sweet, juicy aroma wafting through your kitchen as you transform those luscious fruits into glistening jars of sunshine. Each bite bursts with flavor, a delightful reminder of summer’s bounty, even in the coldest months. You’ll soon discover that canning pears is not just a skill; it’s an art form that rewards you with delicious memories.

I remember the first time I attempted to can pears. My kitchen looked like a fruit explosion, and I spent half the day dodging sticky syrup splatters like they were ninja stars. But when I finally cracked open that first jar, the sweet, fragrant goodness was worth every sticky moment. Canning pears is perfect for preserving summer’s sweetness, and it makes for a fantastic addition to holiday feasts or cozy winter mornings.
Why You'll Love This Recipe
- Canning pears is incredibly easy, making it perfect for beginners and seasoned pros alike
- The flavor is so fresh and vibrant that store-bought options can’t compete
- It’s visually stunning, transforming simple fruit into beautiful jars lining your pantry
- Enjoy them on their own or use them in baked goods and salads for a fruity twist
When my family gathered around the table for Thanksgiving last year, I proudly served my homemade canned pears. Their delighted faces said it all as they savored each bite.
Essential Ingredients
Here’s what you’ll need to make this delicious dish:
-
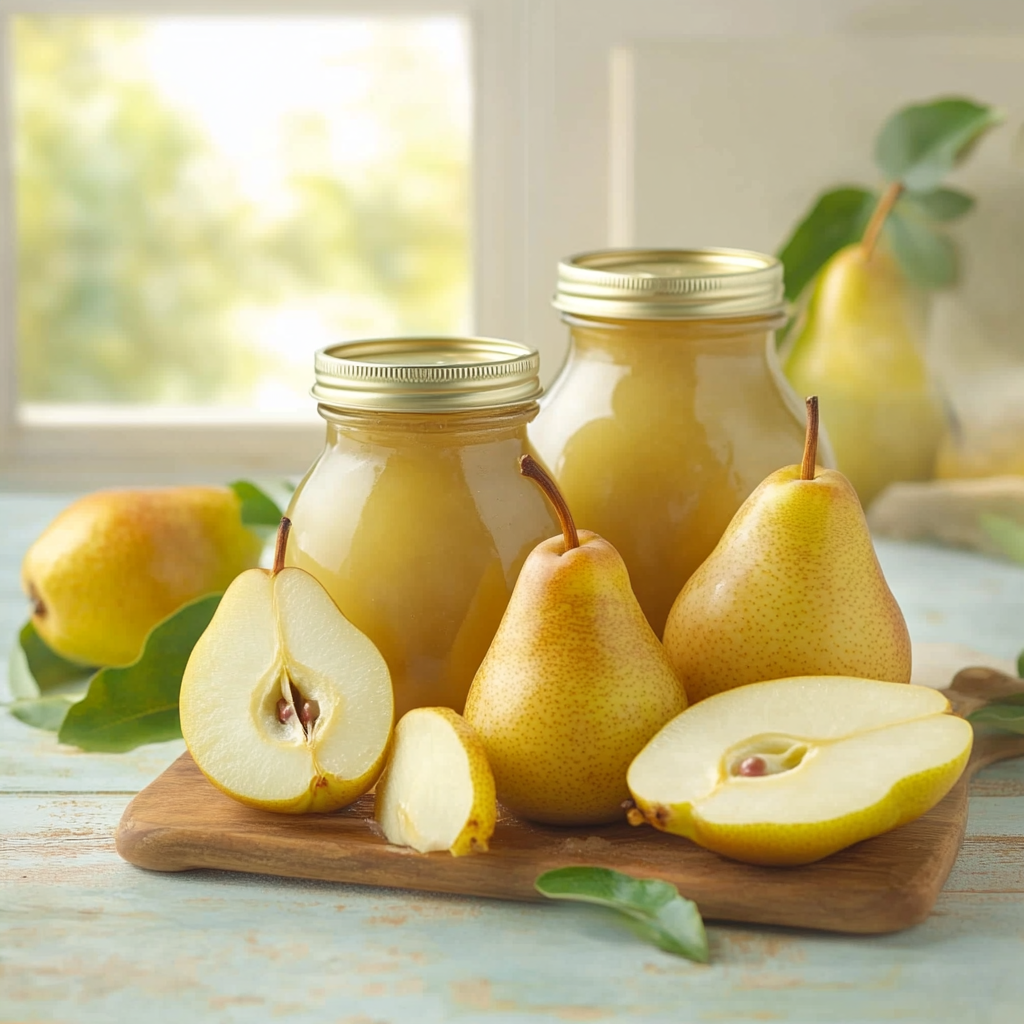
Fresh Pears: Choose ripe but firm pears like Bartlett or Bosc for the best flavor and texture.
-
Sugar: Granulated sugar enhances sweetness; adjust based on your taste preference.
-
Water: Use filtered water to keep flavors pure and refreshing.
-
Lemon Juice: Freshly squeezed lemon juice prevents browning while adding a zingy flavor.
-
Cinnamon Sticks (optional): Add cinnamon sticks for a warm spiced note that complements the pears beautifully.
The full ingredients list, including measurements, is provided in the recipe card directly below.
Let’s Make it together
Prepare Your Jars: Start by sterilizing your canning jars in boiling water for at least 10 minutes to ensure they’re clean and safe for storage.
Peel and Slice the Pears: While your jars are sterilizing, peel your fresh pears using a vegetable peeler. Cut them in half, remove the cores, and slice them into thick wedges.
Make the Syrup: In a large pot over medium heat, combine sugar and water to create your syrup. Stir until the sugar dissolves completely and let it simmer until slightly thickened.
Add Lemon Juice: Pour freshly squeezed lemon juice into your syrup mixture to brighten flavors and prevent browning of those lovely pear slices.
Pack Your Jars with Pears: Carefully pack pear slices into your sterilized jars, leaving about half an inch of headspace at the top.
Pour Syrup Over Pears: Ladle hot syrup over packed pears until they are fully submerged but still leave that crucial headspace. Use a chopstick or similar tool to remove any air bubbles gently.
Seal and Process**: Wipe down jar rims with a clean cloth before placing lids on top securely. Process jars in boiling water for 20 minutes to seal them properly.
Now sit back and let those glorious canned pears cool down! You’ll hear satisfying pops as they seal—proof of your hard work paying off!
Your journey into canning these delightful fruits will surely bring joy not only to you but also to everyone who enjoys the fruits of your labor—literally! Whether you’re adding them to desserts or simply enjoying them straight from the jar, those canned pears will be one delicious treat you won’t forget!
You Must Know
- Canning pears is a delightful way to preserve summer’s sweetness
- These juicy gems can elevate any dessert or breakfast dish, making them a versatile pantry staple
- The process is simple but requires attention to detail for perfect results
Perfecting the Cooking Process
Start by preparing your jars and lids, then peel and slice the pears uniformly. Pack the pears tightly in jars, leaving space for syrup. Finally, pour hot syrup over the pears and seal.
Add Your Touch
Consider adding spices like cinnamon or nutmeg to your syrup for extra flavor. You can also swap sugar with honey for a healthier twist.
Storing & Reheating
Store sealed jars in a cool, dark place for up to one year. Once opened, refrigerate and consume within a week.
Chef's Helpful Tips
- When canning pears, use firm yet ripe fruit for the best texture
- Ensure your jars are sterilized properly to avoid spoilage
- Always check seals after cooling to ensure freshness
Canning pears brings back memories of my grandmother’s kitchen, filled with laughter and the sweet scent of fruit bubbling away on the stove.

FAQ
What type of pears are best for canning pears?
Bartlett or Anjou pears work best due to their sweetness and firm texture.
How do I prevent my pears from browning during preparation?
Soak sliced pears in lemon water to keep them looking fresh and vibrant.
Can I use alternative sweeteners when canning pears?
Yes! You can use honey or agave syrup instead of traditional sugar for a healthier option.
Canning Pears
Transform ripe pears into sweet, succulent jars that capture the essence of summer. Canning pears not only preserves their delightful flavor but also allows you to enjoy them throughout the year. Perfect for desserts, breakfasts, or simply snacking, this easy recipe is a wonderful way to elevate your pantry staples while creating cherished memories.
- Prep Time: 30 minutes
- Cook Time: 20 minutes
- Total Time: 50 minutes
- Yield: Approximately 5 servings (based on jar size) 1x
- Category: Dessert
- Method: Canning
- Cuisine: American
Ingredients
- 5 cups fresh pears, peeled and sliced
- 1 cup granulated sugar
- 4 cups filtered water
- 1/4 cup freshly squeezed lemon juice
- 2 cinnamon sticks (optional)
Instructions
- Sterilize canning jars by boiling them in water for at least 10 minutes.
- Peel and slice the pears into thick wedges.
- In a large pot over medium heat, combine sugar and water to create syrup, stirring until dissolved and slightly thickened.
- Stir in lemon juice to prevent browning.
- Pack pear slices tightly into sterilized jars, leaving half an inch of headspace.
- Pour hot syrup over the pears until fully submerged, ensuring headspace remains.
- Wipe jar rims clean and seal with lids securely.
- Process jars in boiling water for 20 minutes.
- Allow jars to cool completely; listen for satisfying pops as they seal!
Nutrition
- Serving Size: 1 serving
- Calories: 120
- Sugar: 32g
- Sodium: 0mg
- Fat: 0g
- Saturated Fat: 0g
- Unsaturated Fat: 0g
- Trans Fat: 0g
- Carbohydrates: 32g
- Fiber: 2g
- Protein: 0g
- Cholesterol: 0mg


Leave a Comment