
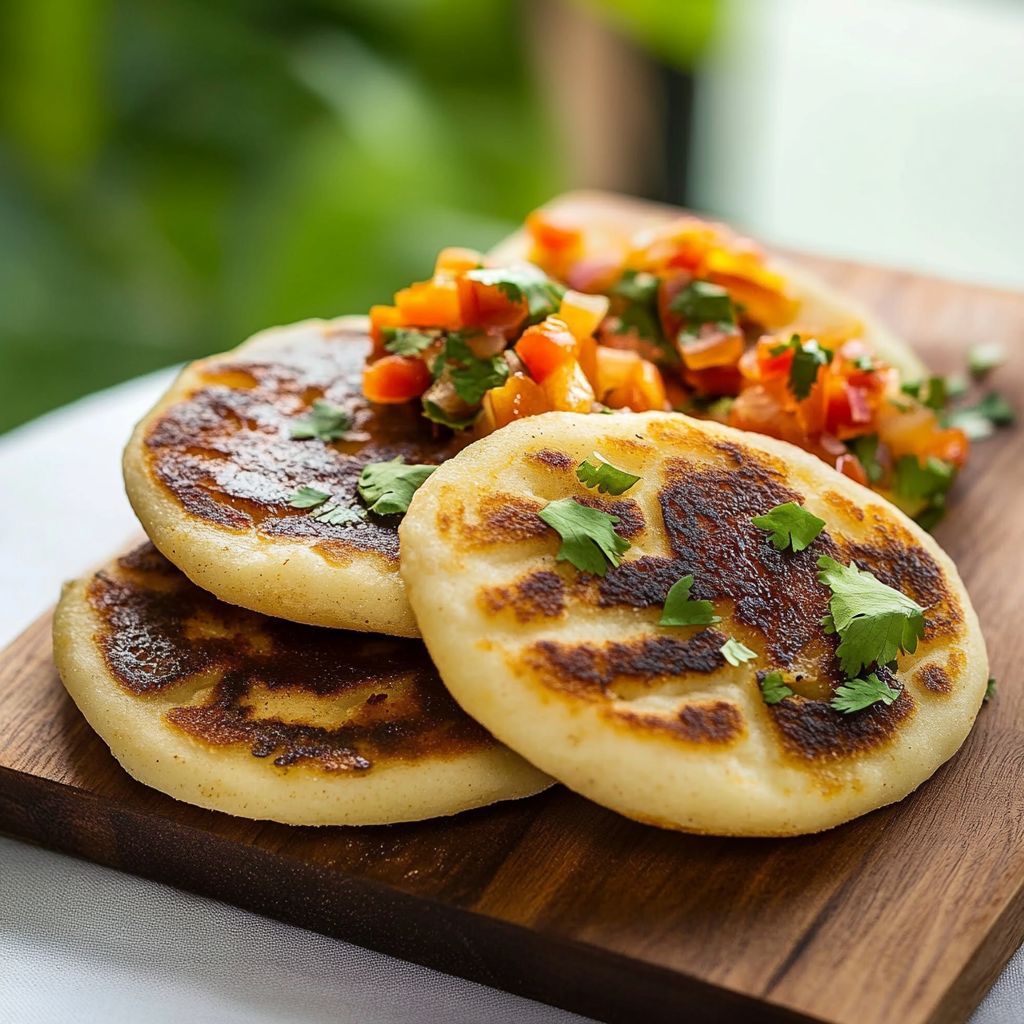
Arepas are more than just a meal; they are a warm hug in the form of food, with crispy outsides and soft, fluffy insides that make every bite an experience. Picture this: you take a bite, and the aroma of corn wafts through the air as your taste buds dance with joy. Each arepa is like a little pocket of sunshine, ready to be filled with whatever deliciousness your heart desires.

The first time I tried making arepas was during a rainy Sunday afternoon. The sound of rain tapping against the windows paired perfectly with the sizzle of corn dough on the griddle. It felt like I was creating magic in my kitchen, and I couldn’t wait to share them with friends over a cozy gathering. Trust me when I say that once you taste these delightful treats, you’ll want them for breakfast, lunch, or dinner!
Why You'll Love This Recipe
- These arepas are super easy to whip up, making them perfect for busy weeknights
- They boast a slightly nutty flavor that pairs perfectly with savory fillings
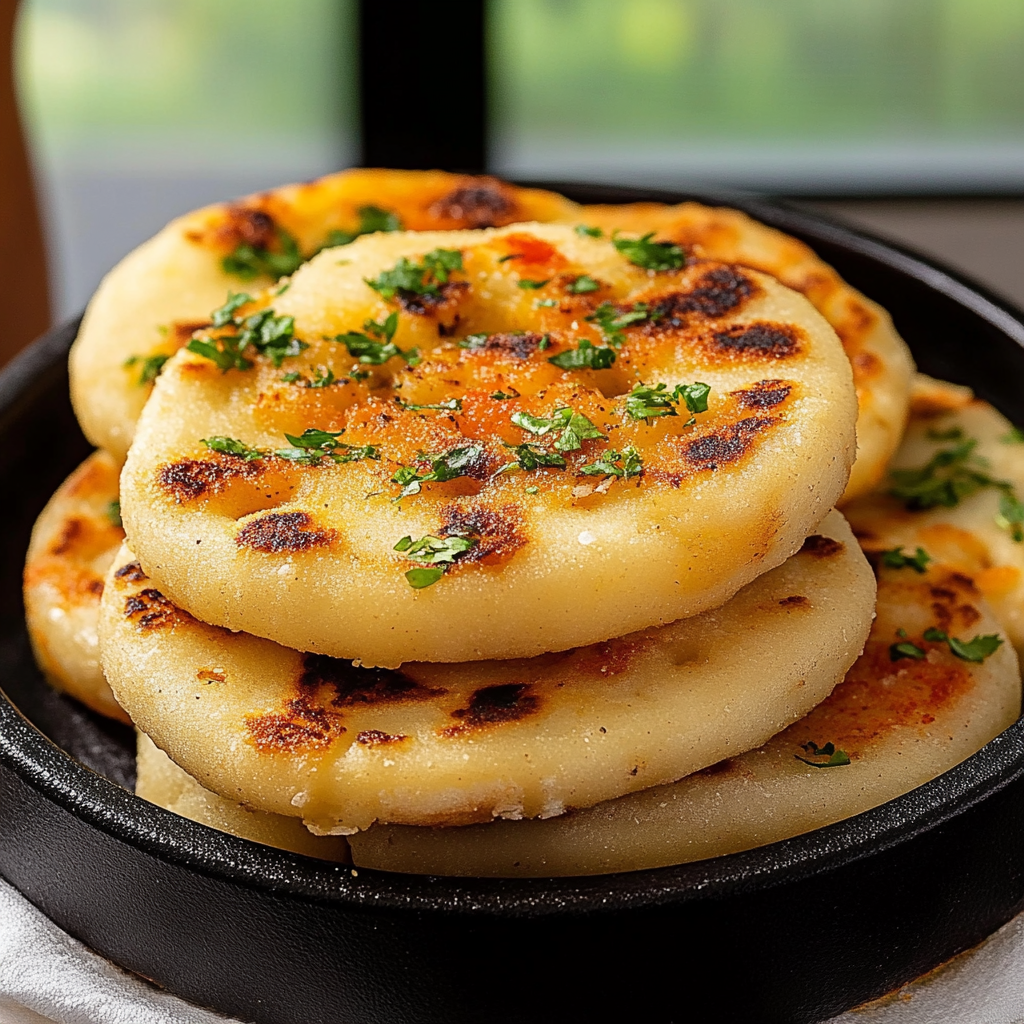
- The golden crust and fluffy interior create a visual feast on your plate
- You can fill them with anything from cheese to avocado or even pulled pork for endless versatility
I still remember the first time my friends tasted my homemade arepas; their eyes lit up like kids on Christmas morning!
Essential Ingredients
Here’s what you’ll need to make this delicious dish:
-
Pre-cooked Cornmeal: This is essential for authentic taste; look for brands labeled “masarepa” for best results.
-
Warm Water: Use warm water to help activate the cornmeal’s texture—perfect for shaping those heavenly rounds.
-
Salt: A pinch enhances flavor; don’t skip it unless you’re on a salt-free quest!
-
Oil: A dab of oil is great for cooking; I recommend olive oil or vegetable oil for frying.
-
Your Favorite Fillings: Think cheese, meats, or veggies—anything goes! Get creative based on what you love.
The full ingredients list, including measurements, is provided in the recipe card directly below.
Let’s Make it Together
Mixing the Dough: In a large bowl, combine the pre-cooked cornmeal and salt. Gradually add warm water while mixing until you achieve a smooth dough that holds together well.
Shaping Your Arepas: Divide the dough into equal portions and roll them into balls about the size of golf balls. Gently flatten each ball between your palms to form disks roughly an inch thick.
Cooking Time!: Preheat your skillet over medium heat and add a splash of oil. Place the formed arepas in the skillet and cook until golden brown, about 5-7 minutes per side.
Fill ‘Em Up!: Once cooked through, slice open each arepa like a pocket and stuff them with your favorite fillings! Cheese melts beautifully inside while avocados add creaminess.
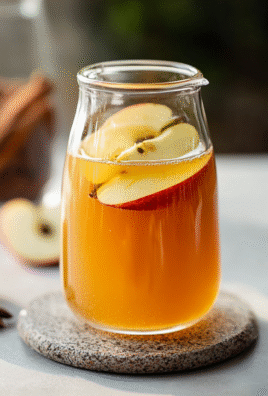
Savor Every Bite!: Serve them hot off the skillet alongside salsa or guacamole—trust me, these will disappear faster than you can say “arepa!”
If you’re looking to impress at brunch or simply want to treat yourself any day of the week, these arepas will not disappoint. Get ready to enjoy every bite!
You Must Know
- Arepas are versatile and can be filled with anything from cheese to meats
- Their crispy exterior and soft, fluffy interior create a delightful texture
- Remember to season your dough well for the best flavor; it makes a world of difference!
Perfecting the Cooking Process
To achieve perfect arepas, start by mixing your dough first, then shape them into patties before cooking. Cook on a hot griddle for about 5-7 minutes per side until golden brown.
Add Your Touch
Feel free to experiment with fillings like avocado, pulled pork, or even chocolate! Consider adding spices to the dough for an extra kick or using different types of cheese for varied flavors.
Storing & Reheating
Store cooked arepas in an airtight container in the fridge for up to three days. To reheat, place them on a hot skillet for a few minutes until warm and crispy again.
Chef's Helpful Tips
- Always let your dough rest for a few minutes after mixing; it helps with texture
- Ensure your griddle is hot enough before cooking to avoid soggy arepas
- Experiment with different flours for unique flavors and textures!
Creating my first batch of arepas was a memorable experience; my friends couldn’t stop raving about them during our game night!

FAQ
What type of flour is best for making arepas?
Use pre-cooked cornmeal such as masa harina for the best results.
Can I freeze cooked arepas?
Yes, you can freeze cooked arepas; just ensure they cool completely before storing.
How do I know when the arepas are done cooking?
They should be golden brown on both sides and sound hollow when tapped.
Arepas
Arepas are a delightful, versatile dish made from pre-cooked cornmeal, offering a crispy exterior and a soft, fluffy interior. Perfect for breakfast, lunch, or dinner, these little pockets of joy can be filled with your favorite ingredients, from cheese and avocado to pulled pork. Easy to make and customizable to your taste, arepas bring comfort food to a whole new level. Whether you’re hosting brunch or enjoying a cozy night in, these arepas will impress!
- Prep Time: 10 minutes
- Cook Time: 15 minutes
- Total Time: 25 minutes
- Yield: Makes approximately 6 servings 1x
- Category: Main
- Method: Frying
- Cuisine: South American
Ingredients
- 2 cups pre-cooked cornmeal (masarepa)
- 1 ½ cups warm water
- 1 tsp salt
- 2 tbsp olive oil (for cooking)
- Your favorite fillings (cheese, meats, veggies)
Instructions
- In a large bowl, mix the pre-cooked cornmeal and salt. Gradually add warm water until the dough is smooth.
- Divide the dough into equal portions and shape them into golf ball-sized balls. Flatten each ball into disks about an inch thick.
- Preheat a skillet over medium heat and add olive oil. Cook the arepas for 5-7 minutes on each side until golden brown.
- Slice open the cooked arepas and fill them with your chosen ingredients.
- Serve hot with salsa or guacamole.
Nutrition
- Serving Size: 1 arepa (90g)
- Calories: 210
- Sugar: 0g
- Sodium: 220mg
- Fat: 6g
- Saturated Fat: 1g
- Unsaturated Fat: 5g
- Trans Fat: 0g
- Carbohydrates: 36g
- Fiber: 4g
- Protein: 4g
- Cholesterol: 0mg


Leave a Comment