
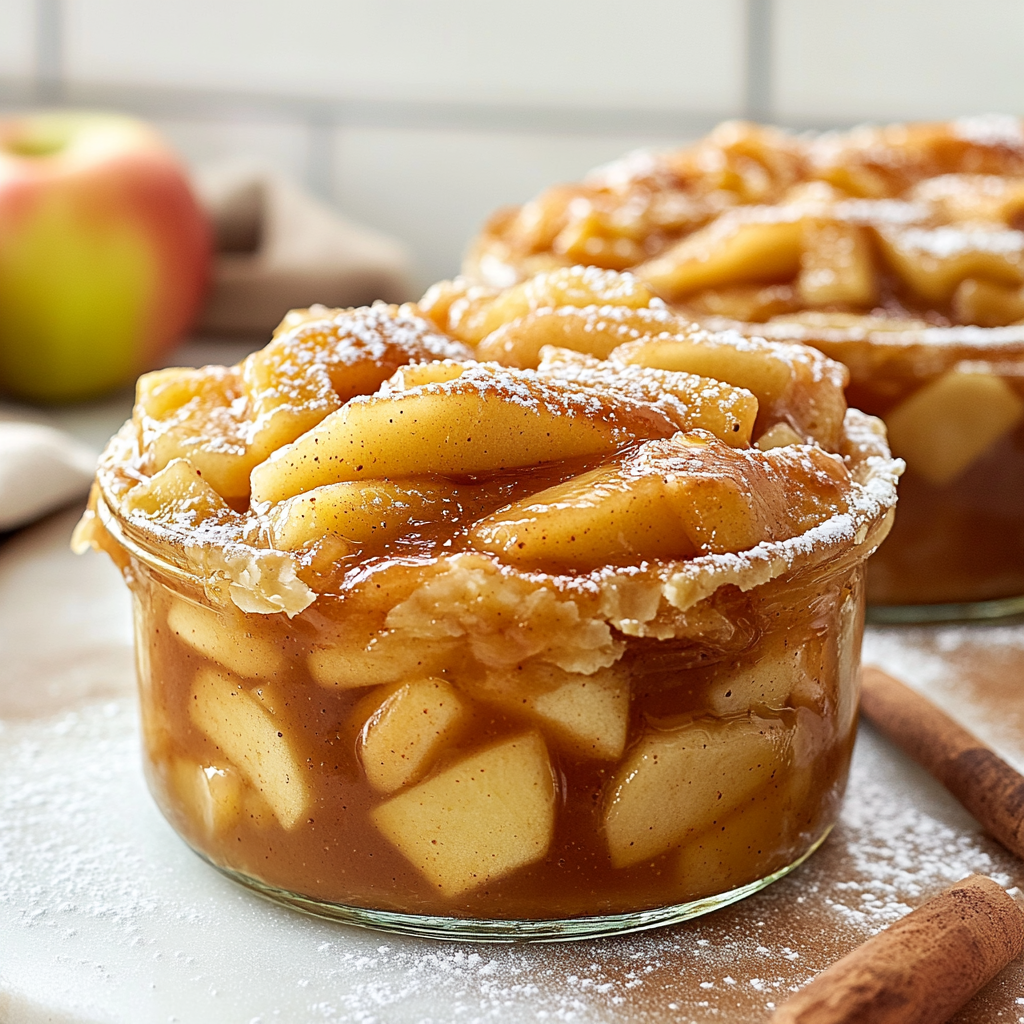
Canned apple pie filling recipes have a magical way of transporting you back to cozy family gatherings, where the aroma of cinnamon and baked apples fills the air. Picture this: a warm kitchen, laughter echoing off the walls, and that unmistakable scent wafting in from the oven. It’s like a hug from your grandma wrapped in flaky pastry.
Now, let me take you on a little journey. I remember the first time I attempted to bake with canned apple pie filling. My friends were skeptical, thinking it wouldn’t taste homemade. But boy, were they in for a surprise! The combination of sweet apples and warm spices turned out to be a hit at our potluck, leaving everyone asking for seconds—and the recipe!
Why You'll Love This Recipe
- This delightful recipe allows you to whip up a delicious dessert in no time, perfect for busy weeknights
- The flavor profile is rich and comforting, making it an instant crowd-pleaser
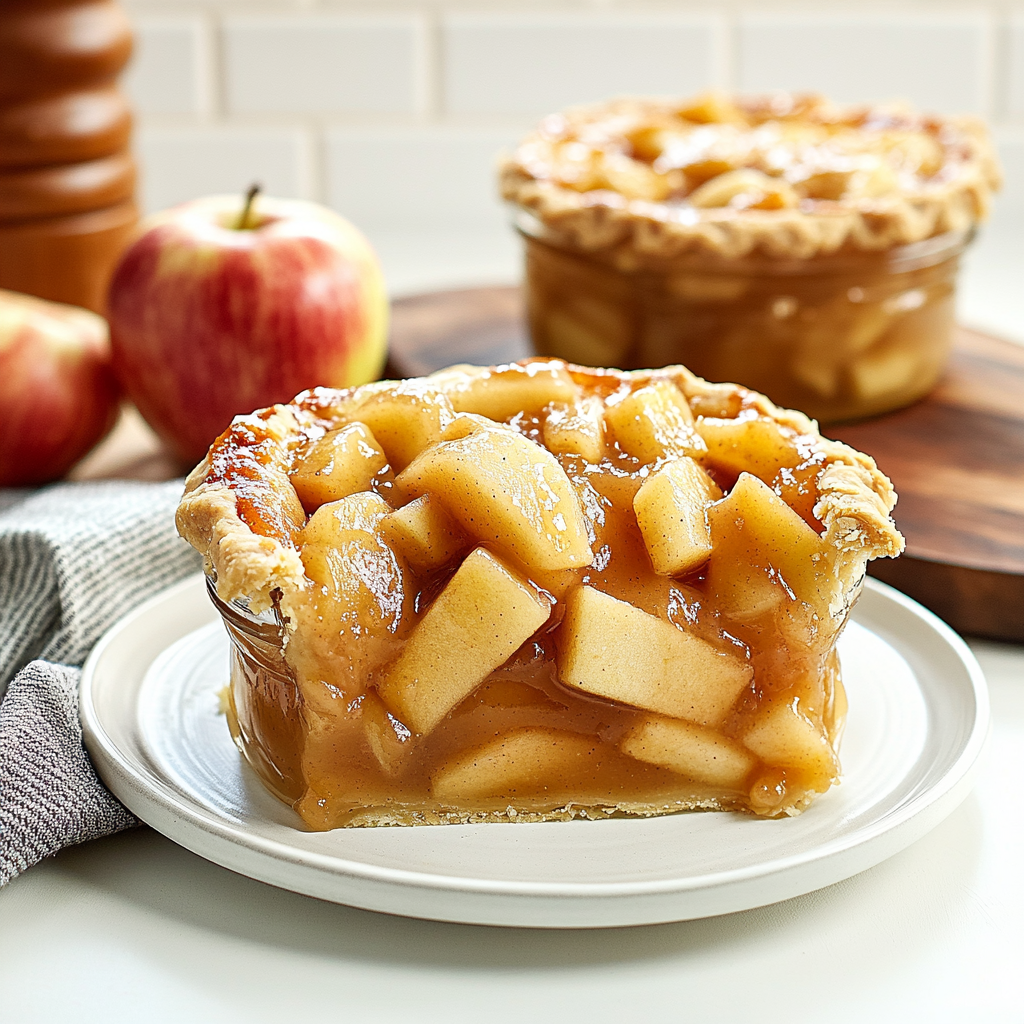
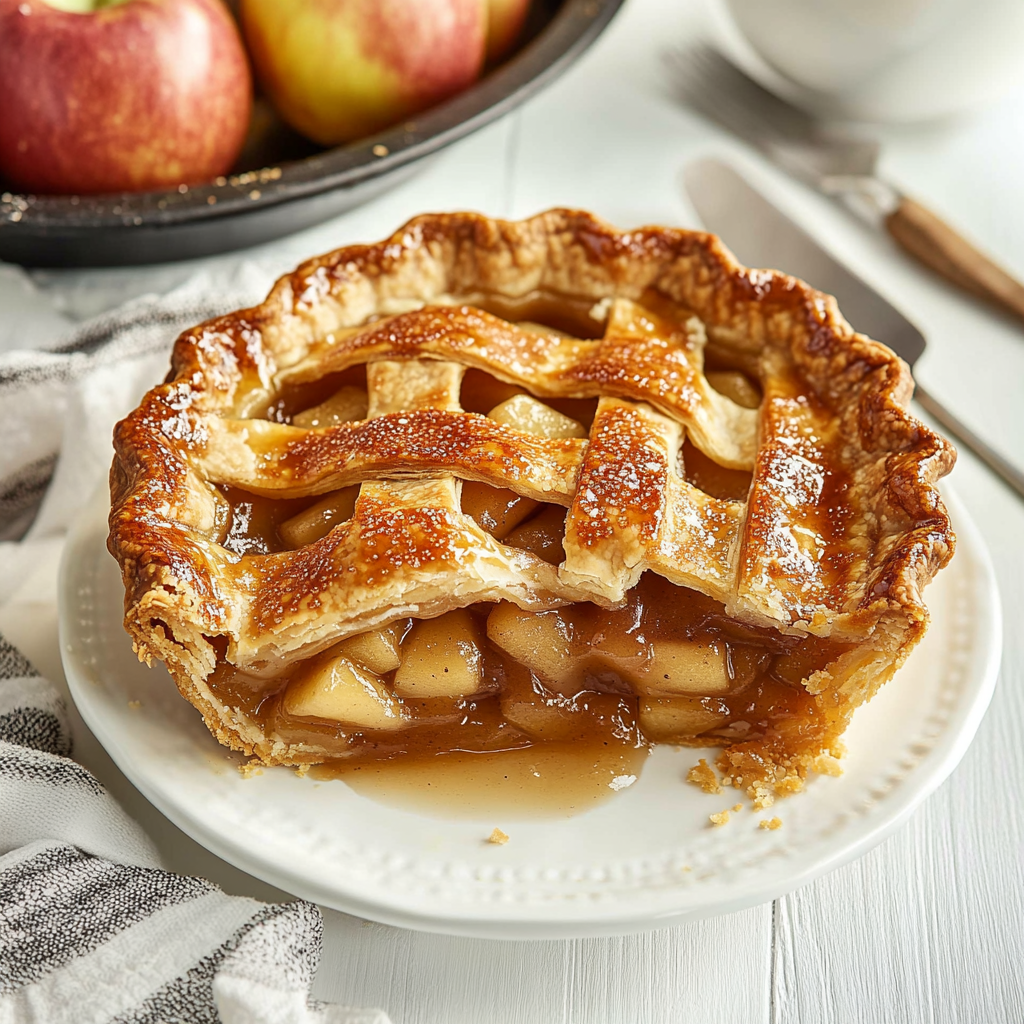
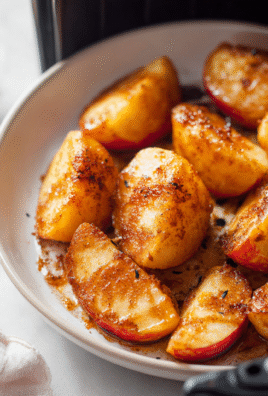
- Visually enticing with its golden crust and bubbling filling, it’s sure to impress anyone at your table
- Versatile enough to be served as pie or over ice cream for a fabulous sundae!
The reactions from my friends were priceless; they couldn’t believe how easy it was to create something so delightful with just a few ingredients!
Essential Ingredients
Here’s what you’ll need to make this delicious dish:
-
Canned Apple Pie Filling: Choose a high-quality brand for authentic flavor; homemade versions can also work wonders if you’re feeling ambitious.
-
Pie Crust: Use store-bought for convenience or make your own if you’re channeling your inner baker.
-
Cinnamon: This spice is key for that warm aroma; opt for fresh ground for a stronger flavor.
-
Nutmeg: Just a pinch will elevate your filling with warmth and depth.
-
Butter: A few pats on top add richness and help achieve that beautiful golden crust.
-
Sugar: Depending on your sweetness preference, adjust as needed; brown sugar adds extra depth.
The full ingredients list, including measurements, is provided in the recipe card directly below.
Let’s Make it Together
Preheat Your Oven: Start by preheating your oven to 425°F (220°C). This ensures an even bake for that crispy crust everyone loves.
Prepare Your Pie Crust: Roll out your pie crust into a 9-inch pie plate. Make sure there are no tears; we want this beauty to hold all those juicy apples!
Add the Filling: Open that can of apple pie filling and pour it generously into the pie crust. Make sure to spread it evenly so every slice is filled with deliciousness.
Season It Up!: Sprinkle cinnamon and nutmeg over the filling. Toss in some sugar if you prefer it sweeter; mix things up with a gentle stir using a spoon.
Add Butter Magic: Cut small cubes of butter and place them across the top of the filling. Trust me, this step adds an undeniable richness!
Cover with Top Crust or Lattice**: If you’re feeling fancy, create a lattice top with another rolled-out crust. Otherwise, simply cover it up fully and cut slits for steam to escape.
Bake Until Golden**: Place your pie in the oven and bake for about 25-30 minutes or until the crust is golden brown and bubbly—oh boy, get ready for that heavenly aroma!
And just like that, you’ve turned canned apple pie filling into an irresistible dessert that’ll make everyone swoon! Enjoy your creation warm or chilled; either way, it’s bound to be loved!
You Must Know
- Canned apple pie filling recipes are a true lifesaver
- They enable quick desserts that taste homemade
- With the right spices and a flaky crust, you’ll impress your family and friends without breaking a sweat
- Plus, it makes your kitchen smell like autumn!
Perfecting the Cooking Process
Start by warming your canned apple pie filling on low heat while preparing your crust. This enhances flavor and aroma, leading to a truly delightful dessert experience.
Add Your Touch
Consider adding a sprinkle of cinnamon or nutmeg to elevate the flavors. You can also mix in some raisins or nuts for added texture and surprise.
Storing & Reheating
Store leftover canned apple pie filling in an airtight container in the fridge for up to one week. Reheat gently on the stovetop before using in another recipe.
Chef's Helpful Tips
- To achieve the perfect dessert with canned apple pie filling, remember to use a deep dish for extra filling
- Let the pie cool completely before slicing for cleaner pieces
- Don’t forget to serve with vanilla ice cream for an indulgent treat!
I once baked an apple pie using canned filling for a potluck, and it vanished faster than I could say “slice.” Everyone thought I spent hours making it from scratch!

FAQ
Can I use fresh apples instead of canned apple pie filling?
Absolutely! Just peel, core, and slice the apples, then season them similarly.
How long does canned apple pie filling last?
Unopened cans can last for years; once opened, store it in the fridge for about a week.
What are some creative uses for canned apple pie filling?
You can use it as a topping for pancakes, waffles, or even yogurt for breakfast!
Canned Apple Pie Filling Delight

Indulge in the nostalgic comfort of homemade apple pie with this quick and easy recipe featuring canned apple pie filling. Perfect for busy weeknights, this dessert boasts a flaky crust enveloping a warm, spiced apple filling that will transport you back to cozy family gatherings. Impress your guests with minimal effort while enjoying the delightful aroma of cinnamon and baked apples wafting through your kitchen. Serve it warm or chilled, alone or à la mode, for an unforgettable treat!
- Prep Time: 10 minutes
- Cook Time: 30 minutes
- Total Time: 40 minutes
- Yield: Serves 8
- Category: Dessert
- Method: Baking
- Cuisine: American
Ingredients
- 1 can (21 oz) apple pie filling
- 1 pre-made pie crust (9-inch)
- 1 tsp ground cinnamon
- 1/4 tsp ground nutmeg
- 2 tbsp unsalted butter, cut into small cubes
- 2 tbsp granulated sugar (adjust to taste)
Instructions
- Preheat your oven to 425°F (220°C).
- Roll out the pie crust into a 9-inch pie plate, ensuring there are no tears.
- Pour the canned apple pie filling into the crust, spreading evenly.
- Sprinkle cinnamon and nutmeg over the filling; add sugar if desired.
- Distribute butter cubes on top of the filling.
- Cover with another rolled-out crust or create a lattice design; cut slits for steam to escape.
- Bake for 25-30 minutes until golden brown and bubbly.
Nutrition
- Serving Size: 1 serving
- Calories: 250
- Sugar: 15g
- Sodium: 200mg
- Fat: 10g
- Saturated Fat: 4g
- Unsaturated Fat: 5g
- Trans Fat: 0g
- Carbohydrates: 37g
- Fiber: 2g
- Protein: 2g
- Cholesterol: 15mg

Leave a Comment